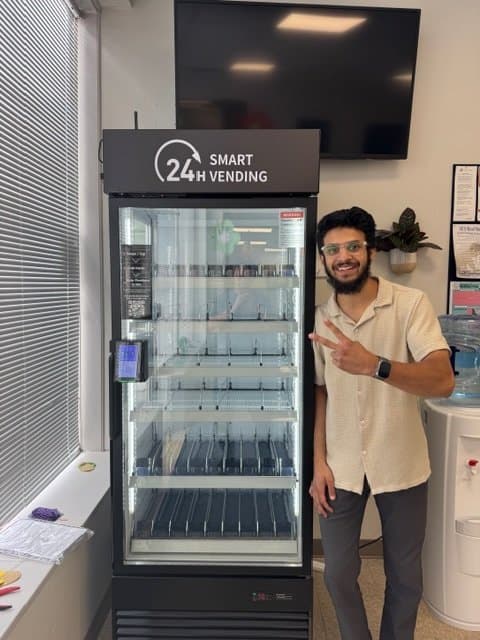
Vending is one of the most accessible business models in small business: low overhead, no employees required, flexible hours, and revenue that keeps coming in whether you are working or not. But like any business, it rewards preparation. Operators who research thoroughly, secure locations before buying equipment, and build smart financial foundations grow routes that compound. Those who buy a machine first and figure out the rest later often end up with equipment and nowhere good to put it. This guide covers every step in sequence.
"The single most common mistake new vending operators make is buying equipment before securing a location. Always secure the location first. Always."
Step 1: Research Your Market
Before spending a dollar, spend two to four weeks understanding the vending landscape in your target geography. Drive around office parks, industrial areas, hospitals, gyms, and shopping plazas. Note what vending machines are already present, what condition they are in, and where the obvious gaps are. Identify three to five location types that are underserved or poorly served by existing operators. Talk to office managers, facilities directors, and gym staff. Ask them what their current vending situation is and what they wish it were.
Step 2: Choose Your Machine Type
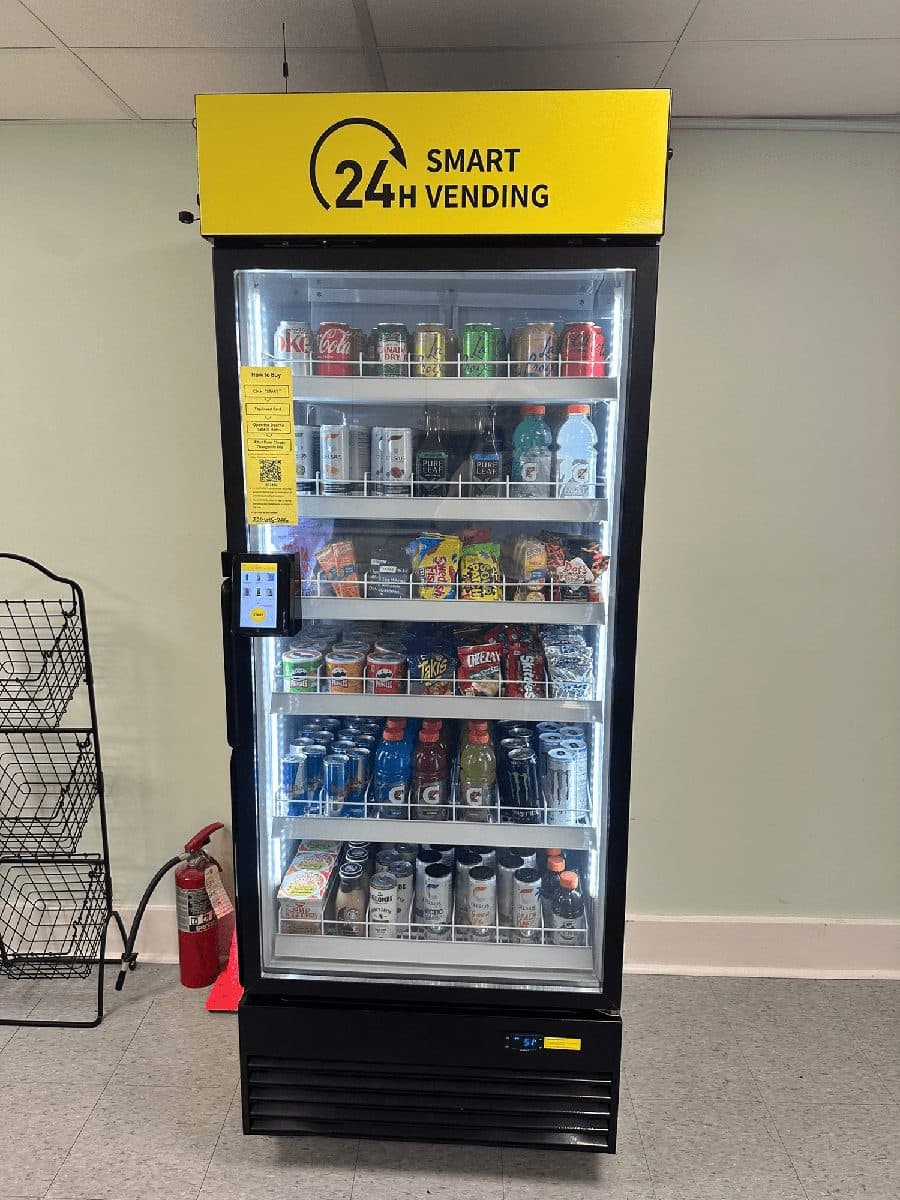
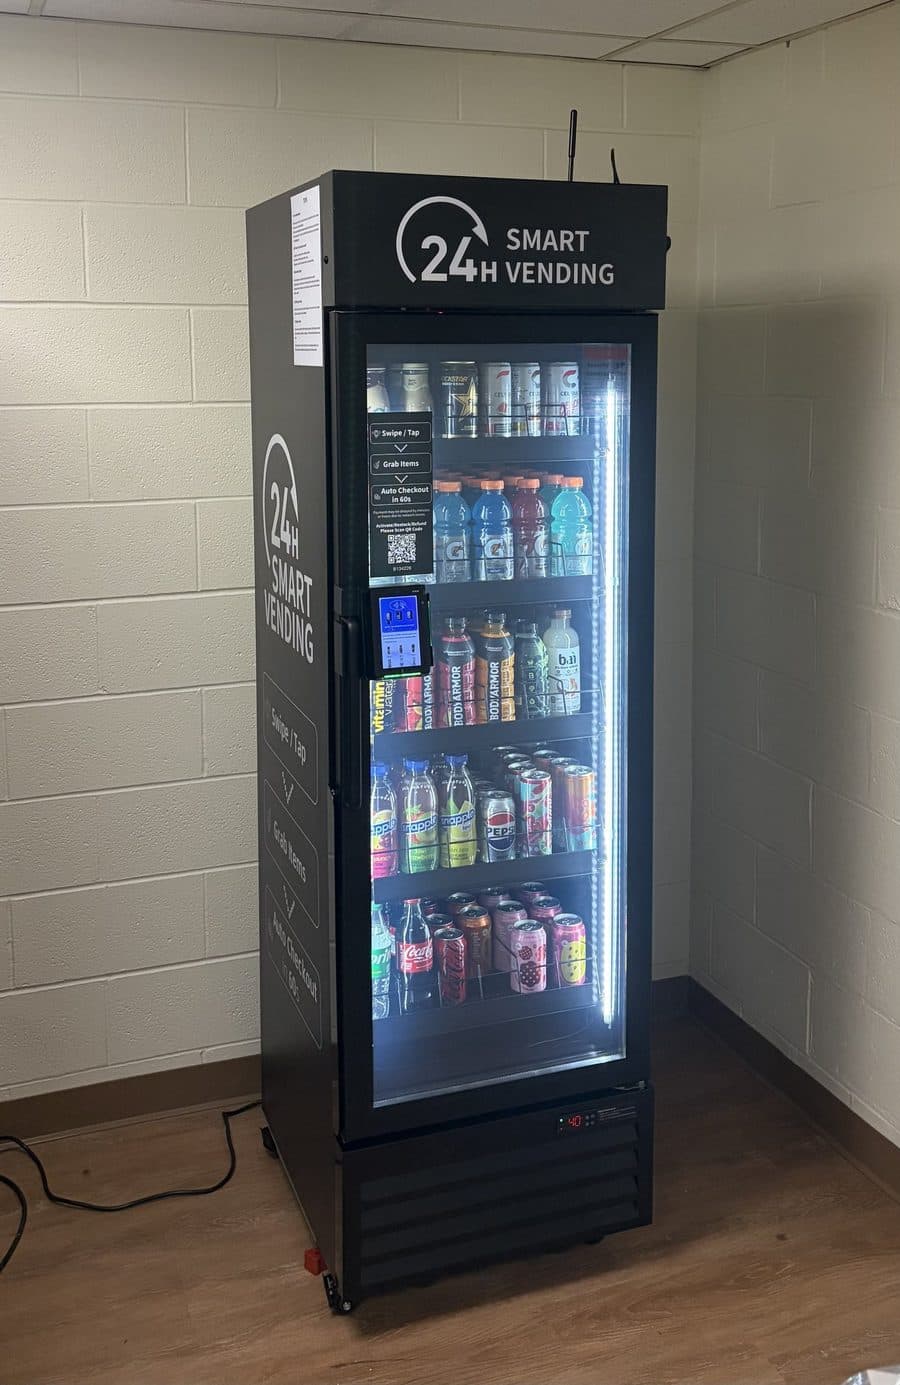
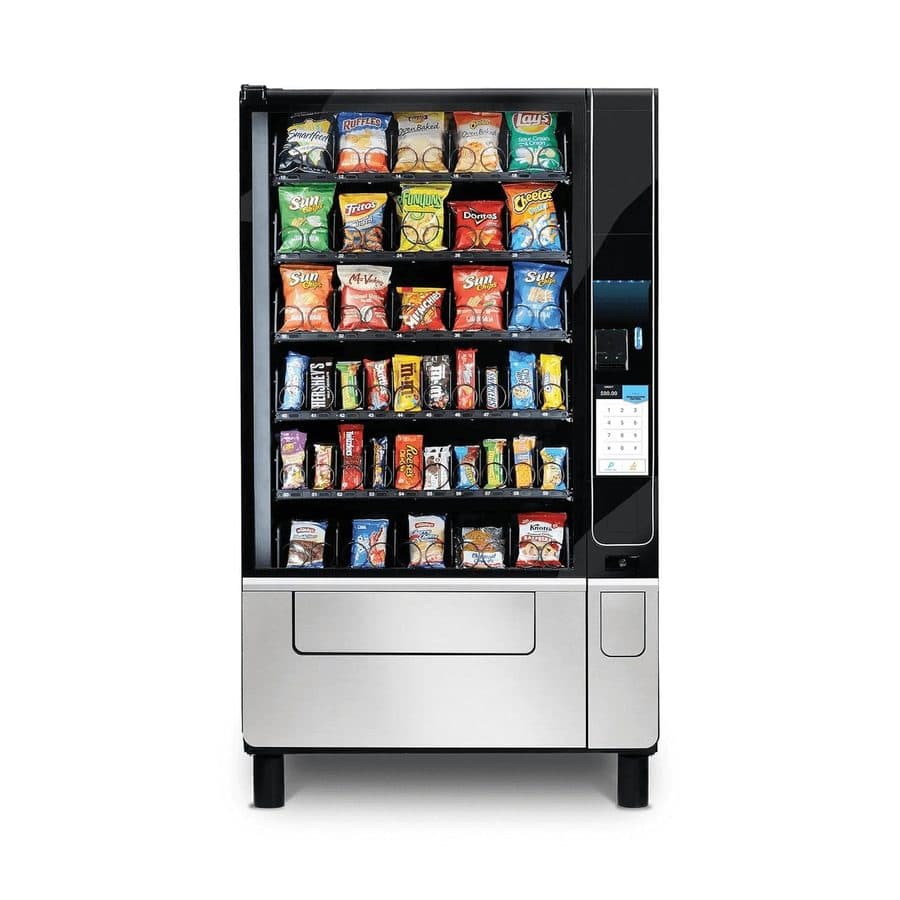
Machine type should follow location type. Once you know where you want to place machines, you can determine what equipment those locations need. Office break rooms with 50 to 150 employees typically want combo machines. Gyms want beverage-heavy setups with functional drink options. Large warehouses want high-capacity beverage machines with traditional snack selections. For first-time operators, a combo machine is usually the right starting point: maximum product variety per square foot, single machine to maintain, broad appeal across most location types.
Step 3: Secure Your First Location, Before Buying Equipment
This is the most important step and the one most often skipped. Identify your target location, meet with the decision-maker, and get a verbal or written commitment before purchasing a single machine. Know the square footage available, the commission structure expected, and the restocking schedule that works for both parties. Equipment is easy to find once you have a committed placement. Lenders respond more favorably to operators who have signed location agreements. And you avoid the painful situation, common among first-time operators, of buying equipment and spending months trying to place it.
Step 4: Set Up Your Business Entity
Register an LLC for your vending operation. LLCs provide liability protection and offer pass-through taxation that simplifies your first few years of returns. The cost is $50–$500 depending on your state and the process takes under two hours through the Secretary of State website. Once registered, obtain a free EIN from the IRS (10 minutes online) and open a dedicated business checking account in the LLC's name. Running vending revenue through personal accounts is the easiest way to create an accounting and tax nightmare.
Step 5: Get Business Insurance
A general liability policy covering your vending operation costs $400 to $800 per year and protects you from claims related to your machines: product liability, property damage, slip-and-fall incidents near your equipment. Many location managers at hospitals, corporate campuses, and schools require proof of insurance before signing a placement agreement. Get coverage before you need it.
Step 6: Source and Finance Equipment
With a location commitment in hand and your business entity established, you are ready to buy equipment. Evaluate both new and quality-refurbished machines. Get quotes from at least two dealers and compare total cost including delivery, installation, and any retrofit equipment (cashless readers, telemetry devices). Financing options include equipment leasing (24 to 60 month terms at 8 to 15% APR), SBA 7(a) loans, and vendor financing programs. A new combo machine at $6,000 financed over 36 months at 10% APR runs approximately $190/month. If the machine generates $300/month in net profit, you are cash-flow positive from month one.
Step 7: Source Products Wholesale
Retail stores are not viable long-term sourcing options. The margins disappear. For your first machines, warehouse clubs (Costco, Sam's Club, BJ's) are an acceptable starting point. As your route grows, establish accounts with regional wholesale distributors. McLane, Core-Mark, and Eby-Brown are the major players in the Northeast. Net 30 payment terms from a distributor dramatically improve your cash flow management once you establish credit history.
Step 8: Set Your Pricing Strategy
Vending pricing should cover cost of goods (typically 50 to 60% of retail), commission payments to the location, service overhead, and deliver a reasonable operating margin. A $1.50 wholesale item should retail at $2.50 to $3.00 in most markets. A $3.00 wholesale protein bar should retail at $4.50 to $5.50. Test prices at the upper end of market tolerance in your first locations. You can always lower prices, but raising them later creates friction. Cashless payment makes price increases easier: the psychological resistance to paying $2.25 versus $2.00 is lower with a card tap than with physical coins.
Step 9: Launch and Track Metrics
When your first machine goes live, establish baseline metrics immediately: daily sales volume, average transaction value, best-selling and worst-selling products, and service visit frequency. Key metrics for every machine: gross monthly sales, cost of goods as a percentage of sales, commission payments, service visit hours, and any service call costs. A simple spreadsheet works for two to five machines. At 10+ machines, invest in vending management software (Parlevel, Nayax PULSE, or Cantaloupe) that aggregates data across your route automatically.
Step 10: Scale Systematically
Every profitable machine funds the next placement. Reinvest the first six months of operating profit into your second and third machines. By machines three and four, you should have enough operating history to qualify for better financing terms and to approach more attractive locations with demonstrated proof of performance. Operators who scale to 20, 50, or 100 machines follow a consistent pattern: they place machines only in locations that meet their traffic and demographic criteria, optimize product mix aggressively based on data, keep service overhead low through efficient routing, and reinvest early profits into growth rather than lifestyle expenses.
Common First-Timer Mistakes
- Buying equipment before securing a location: the most expensive and common mistake
- Underestimating service time: plan for 2 to 3 hours per machine per week including restocking, cleaning, and travel
- Skipping cashless payment: you will leave 20 to 35% of potential revenue on the table
- Over-diversifying product selection too early: start with 15 to 20 proven sellers and expand based on data
- Not tracking metrics from day one: without a baseline you cannot measure improvement
- Accepting the first location that says yes: a bad location teaches expensive lessons; be selective
Key Takeaway
Starting a vending business is genuinely achievable with modest capital and the right approach. The operators who succeed are not necessarily the most experienced. They are the most methodical. Follow the steps in sequence, secure your location before your machine, track your numbers from day one, and reinvest early profits into growth. Vital Vending Sales has helped dozens of first-time operators launch and scale routes across the Northeast. Call us to walk through the process at no cost or obligation.